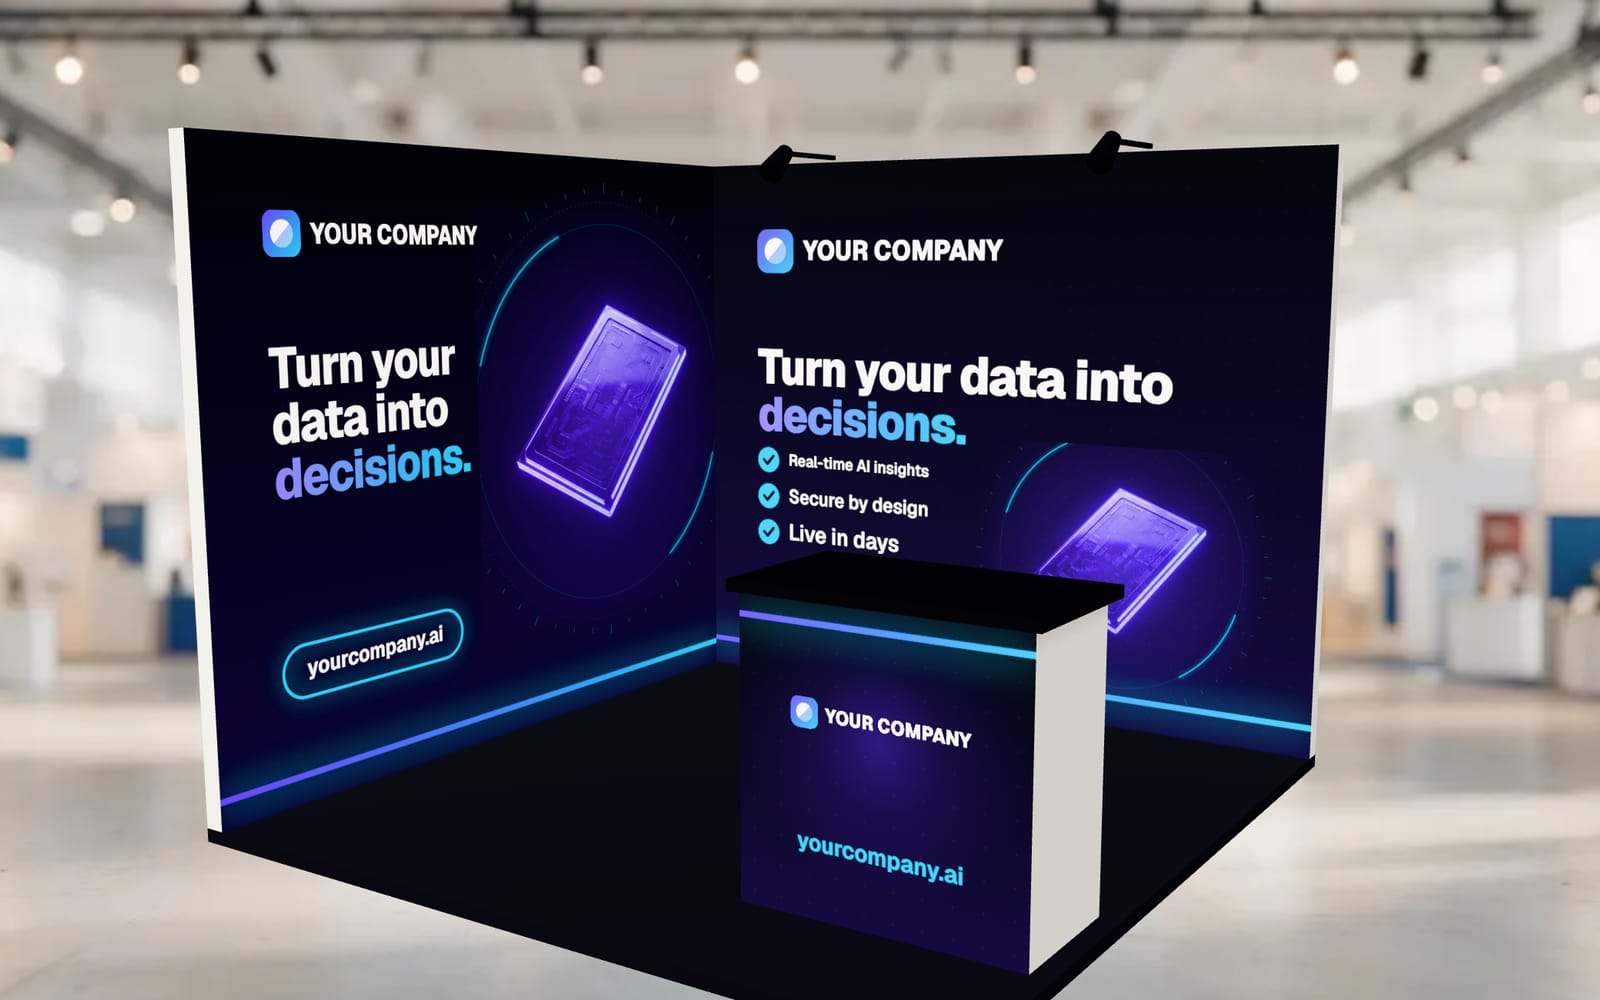
1. Start from the supplier's template
Every display system is a little different. A pop-up wall, a tension fabric frame and a shell-scheme panel all have their own sizes, bleed and safe areas. Ask the display or print supplier for the template for your exact hardware before design starts, and build the artwork inside it.
The template usually tells you the visible area, the bleed, where seams, folds or curved returns fall, and the file format the printer wants. If there is no template, ask for those details in writing.
2. Agree the scale and resolution
Large graphics are often built at a reduced scale, such as a quarter or a tenth of full size, so the files stay manageable. Confirm the scale with the printer, because resolution has to be judged at the size the graphic will actually be printed.
Booth graphics are seen from a few feet away or more, so they do not need the resolution of a brochure. Many printers ask for something in the region of 100 to 150 pixels per inch at full size for photos. Treat that as a starting point and confirm the number for your material.
- Keep logos, text and icons as vector artwork, so they stay sharp at any size.
- Check every photo at 100 percent of its final printed size. Upscaled web images look soft at booth size.
- Use photos you have the rights to print at this size.
3. Bleed, safe area and seams
Bleed is artwork that runs past the trim line so no white edge shows after cutting or tensioning. The amount varies a lot between systems, from a fraction of an inch to a few inches on fabric frames, so use the template's number.
The safe area is the part of the graphic that will definitely be seen. Keep the logo, headline, phone number and QR code well inside it. On pop-up walls, the end panels wrap around the frame, and on modular walls the graphic can be split into panels with seams. Keep important text and faces away from both.
4. Colour that matches your brand
Screens show colour with light; printers mix ink, and fabric printing behaves differently again. Brand colours can shift between materials, so give the printer your exact colour references, such as CMYK values or Pantone numbers, and say which colours matter most.
For an important show, ask for a printed proof or a small sample on the real material. It is the only reliable way to see how a colour will look.
5. Text that reads from the aisle
A common sign-making rule of thumb is about one inch of letter height for every ten feet of viewing distance. Booth headlines are usually far larger than that minimum, and body text on a wall should still be big enough to read from a few steps back.
Keep the main message short, place it high where it is not hidden by people or the counter, and leave small print for handouts. The 10x10 booth guide and the backdrop guide show typical layouts.
6. Files the printer can use
- Export in the format the printer asks for. Print-ready PDF is common; some printers ask for specific PDF standards or the original layered files.
- Convert fonts to outlines or embed them, so nothing is substituted.
- Name each file after its panel and size, for example back-wall-120x96in.pdf, so nothing is printed on the wrong frame.
- Remove hidden layers, notes and template guides that should not print, unless the printer wants the guides kept on a separate layer.
7. Check it before it is printed
Print a section of each panel at full size on an office printer, or a strip of the headline, and look at it from across the room. Then see the whole booth together: Booth Studio lets you upload finished panels and turn the booth in 3D, so you can catch a logo hidden behind the counter or a headline that crowds the edge.
The checklist
- Template for the exact hardware, with bleed, safe area and seams marked.
- Scale agreed with the printer, and photos checked at final size.
- Logo, headline, QR code and contact details inside the safe area, away from seams and returns.
- Brand colours given as exact references, with a proof for important colours.
- Headline short and high on the wall, text readable from a few steps back.
- Fonts outlined or embedded, files exported in the printer's format.
- Each file named by panel and size.
- Whole booth previewed together before sign-off.